Every Single Step of the Wedding Dress Buying Process
Get the full nitty-gritty on what really happens once you step into a bridal salon to dress shop — from first appointment to wedding day!
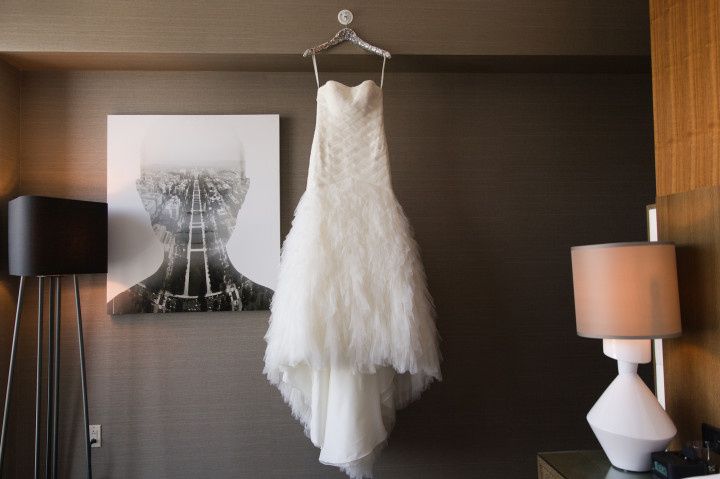

Photo: Photography by Marirosa
So, you’ve made your first bridal salon appointment. Are you drinking champagne yet? No? Ok, go get some, I’ll wait. Back? Great. Now it’s time to learn exactly what’s going to go on once you get there, besides you getting naked in front of a stranger (oh, did you not know about that?) and your mom/bridesmaids/best dude friend/all of the above discreetly weeping at your beauty.
Grab your Spanx and let’s go!
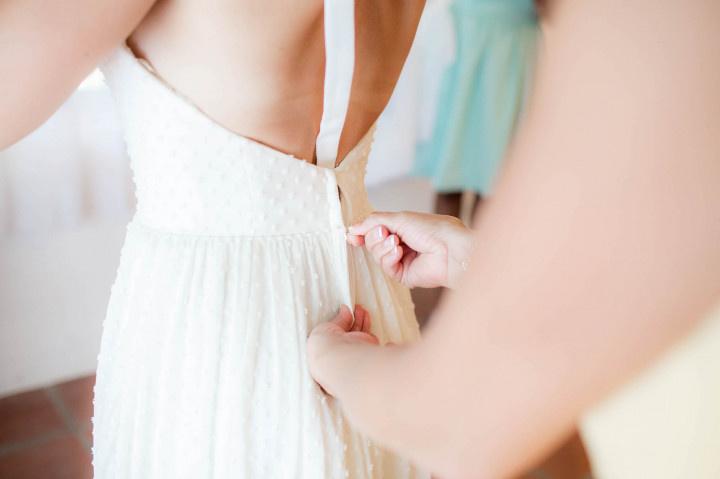
Photo: Honey Photographs by Alyss
Step 1: You’ll Try on Dresses
Duh! But it won’t be a run-through-the-racks free-for-all like when you go to Nordstrom on payday. There will be someone to guide you (which you’ll be grateful for—trust). When you get to your appointment, you’ll be matched with a stylist, who will take you and your entourage to a comfy semi-private or private dressing area to post up for the rest of the appointment. Most likely, they’ll ask you a few questions about your wedding, your vision, and your budget, then either whisk you away to their gown department, or have you sit and relax while she goes to pull a few she thinks you will like to get you started.
After you try them on, you’ll have a better idea of what you like (and don’t like) so the next round(s) of gowns she pulls for you will be more curated. This whole experience will be… a lot. It will be really fun, but also really overwhelming, and you might be surprised by what you like and don’t like. The most important thing to remember is to keep a clear head and focus on what you like (not what anyone else likes). And when you do find a few you like, your stylist will simply ask you to let her know so she can write down the item numbers/dress names for you for reference.
Step 2: You’ll Buy a Dress
Maybe it’ll happen on your first visit to a bridal shop, or maybe it’ll happen on your… tenth. Maybe it’ll happen the first time you put the dress on (or jumpsuit! Or separates!) or maybe it’ll happen after you’ve put it on and taken it off a zillion times. But just know that it will happen. Will you feel that rush of “knowing” that everyone talks about? Perhaps not so dramatically, but in some way or another, when it’s time to make the choice, you’ll feel ready. Even if the feeling is just: “I’m tired of shopping and I feel great in this dress so this is it!”
When the time does come, all you have to do is tell your stylist (or call the salon, if you’re deciding after you’ve left) and give the item number or dress name. Be sure to be specific about color and any other variable. Also, if you’re grabbing any accessories (like a veil or sash), be sure to be specific about those, also. If you’re buying in-store, they’ll take your measurements to order the dress size closest to your exact fit. If you’re ordering over the phone, they’ll have you come in for a measuring appointment, then place the order. Note that ordering a dress in your size doesn’t mean it’s supposed to fit you perfectly when it arrives (this came as a shock to yours truly during my dress pick-up appointment when it looked as sack-like as the floor sample). It simply means it’s as close as it will get to your size before alterations takes the wheel and makes it perfect. As for paying for your dress, you’ll be asked to put down a deposit when your bridal shop orders it for you—usually half the total cost—so be ready for that!
Step 3: They’ll Make Your Dress
It’s happening! Somewhere out there, your one and only wedding dress is being made just for you. All the heart-eyed emojis! (This also means no turning back, though, unless you want to eat the entire cost of your frock, so now would be a good time to stop looking at bridal lookbooks and wedding dress Pinboards.) All designers have different turnaround times, but the standard is around four months. There’s usually a rush option for an additional (likely hefty) cost, so talk that over with your stylist when she’s placing the order if it’s necessary. Remember, you will need alterations (more on that later) so time it accordingly. One more thing? Take tons of selfies in the dress the last time you have it on before it’s ordered, so you can refer back to it as you purchase accessories later on, while it’s being made.
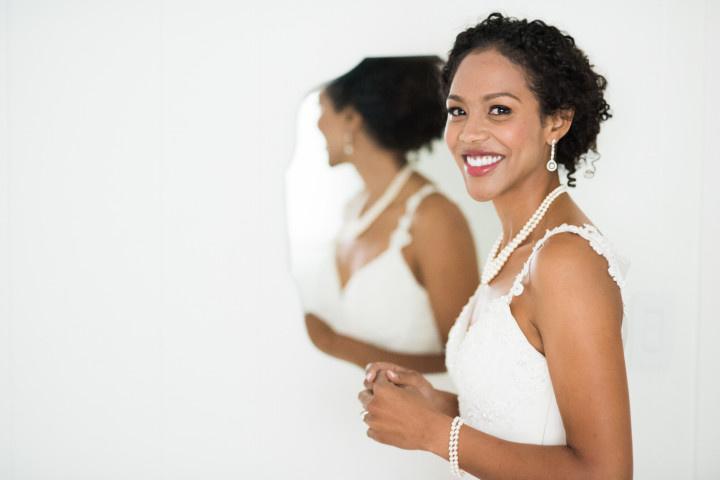
Photo: Derek Chad Photography
Step 4: You’ll Choose Your Accessories
Once your dress is ordered and in the works, you basically don’t have to think about it until it comes in— giving you ample time to think about other wedding stuff, like place cards! This period of time would also be a great one to buy any accessories you’d like to wear that day (veil, shoes, sash, etc.) if you didn’t get them the day you bought your dress—this way, you’ll have everything you need for your first fitting with your seamstress. Make sure you get the official color name(s) of the fabric that makes up your dress from the bridal shop, so you can match your veil and/or sash even if you’re buying them separately from your dress. Shoes are especially important during this time, because you can’t start the alterations process (specifically hemming) until you’ve zeroed in on the height of your footwear.
Step 5: You’ll Pick Up Your Dress and Head to the Seamstress
After what seems like an eternity, you’ll receive a call from your bridal shop that your dress is finally in—it’ll be shipped right to the shop, most likely. Next, you’ll go pick it up, pay the remainder of the cost, and then it’s time for alterations! Some bridal shops have tailors on-site which makes the whole process a breeze. If they don’t they’ll likely provide you with recommendations, so don’t worry too much about researching that yourself—you should use their recommendation, because 1) you may get a better rate since you’re coming from a partner boutique and 2) these tailors have likely worked on your exact dress, or at least on dresses by your designer, before, so they’ll be familiar with the nuances of the fabric, seams, etc. Make your appointment there right away (even though you might be all appointment-ed out, and it may be tempting to put it off!) because the alterations process can be lengthy —sometimes even longer than it took for your dress to come in. This is all dependent on where you live and how busy the tailor is, how intense your alterations are, and how complex your dress is. Regardless, it’s always best to get a head start!
Step 6: You’ll Go to Your Fittings
At your first fitting appointment, bring your gown, the shoes you’ll wear with it, and any undergarments you plan on wearing (namely, shapewear). Then, put it all on and get ready to be amazed—even if you think your dress fits alright as it is, your seamstress is about to make magic happen with pins (and somehow, not prick you even once!). You may have a say in some of the alterations, like whether your straps are longer or shorter for a lower - or higher-cut bustline, or the the length of your train, or whether you want bust pads sewn in, so think on these things before going to your appointment. You might even want to Google Image a pic of your dress from the designer’s website for reference on how it “should” look in its final fitted state (since wedding dresses can look very different when they don’t fit, and your seamstress may have no idea what your dress is “supposed” to look like when it’s properly fitted!).
After the initial pinning and marking, you’ll undress and leave your gown behind, then return a month or so later for another fitting where the seamstress will make additional, more intricate alterations for an even closer fit. This second visit might be your last, or you may need more. In any case, now would be the time to stop any radical dieting or exercising and focusing on maintaining your (beautiful and perfect) current figure, because as the alterations get more finite, every little inch matters. Don’t panic, though—changes can be made late in the process, you’ll just have to pay an additional fee. Once all the alterations are complete, you’ll 1) finally get to see yourself in your FITTED wedding dress—amazing moment!—and then 2) your seamstress will probably steam your gown, pack the bust with paper, and bag it to keep it in mint condition for your big day. Try not to open it or fuss with it till then! How much will all this cost? It varies widely based on where you live and your alterations, but expect at least a couple hundred—and up from there.
Step 7: You’ll Wear Your Dress and Totally Nail It
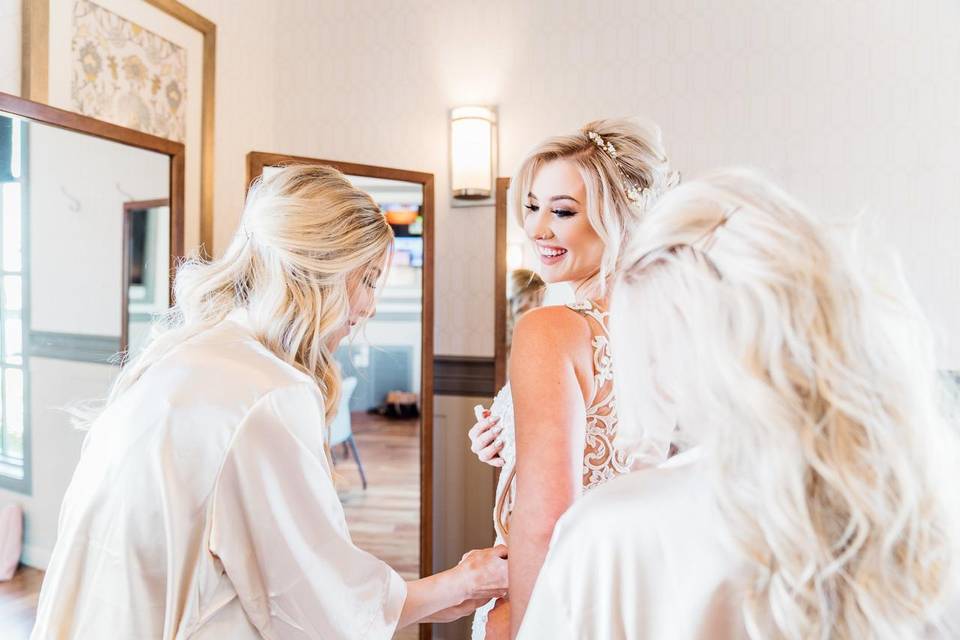
Good news: This is the easiest part of the whole journey (even if it starts out a bit stressful). By now, you have everything you need for your complete look, and all that’s left to do is (carefully) step into your dress, zip and/or button it up, and head down the aisle (sobbing optional). To ensure this process carries out successfully, have the following on hand wherever you’re getting ready: A steamer (ironing your wedding dress is a no-go—too risky with those delicate fabrics!), some double-stick body tape, safety pins and a sewing kit (just in case!), and a button hook if your dress features covered buttons. If it all seems too easy, well, don’t forget you just spent literally 10 months of vigilant planning to make this dress happen. So in this moment, allow yourself to take it easy. Even if every little thing isn’t perfect, it’s time to let it go—a deep breath and a swipe of lipstick should help. Final step? Take a long look in the mirror (because it might be the last one you see all day!), tell yourself you’re gorgeous (out loud!) and get out there and make your soon-to-be-spouse’s jaw drop.

