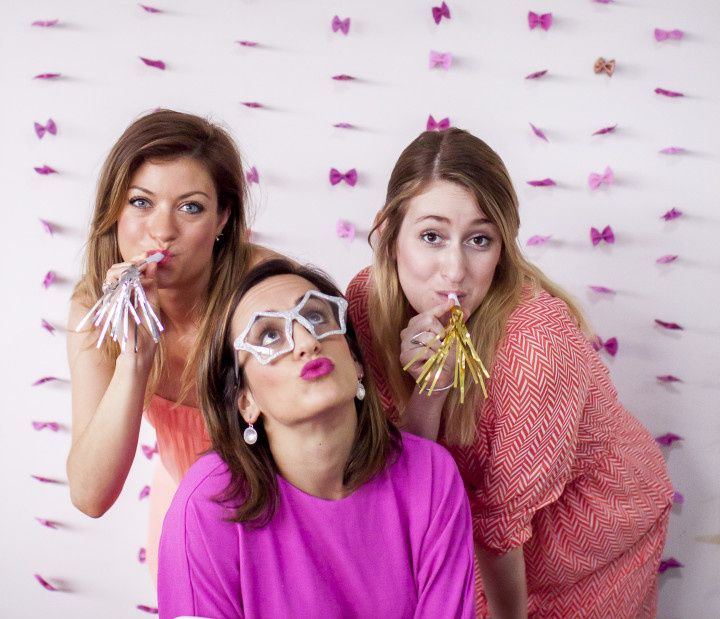
DIY Photo Backdrop: Knotted Yarn Lattice
This knotted yarn lattice photo backdrop was designed to mimic the crochet styles of the 70s, so it's perfect for a boho wedding!
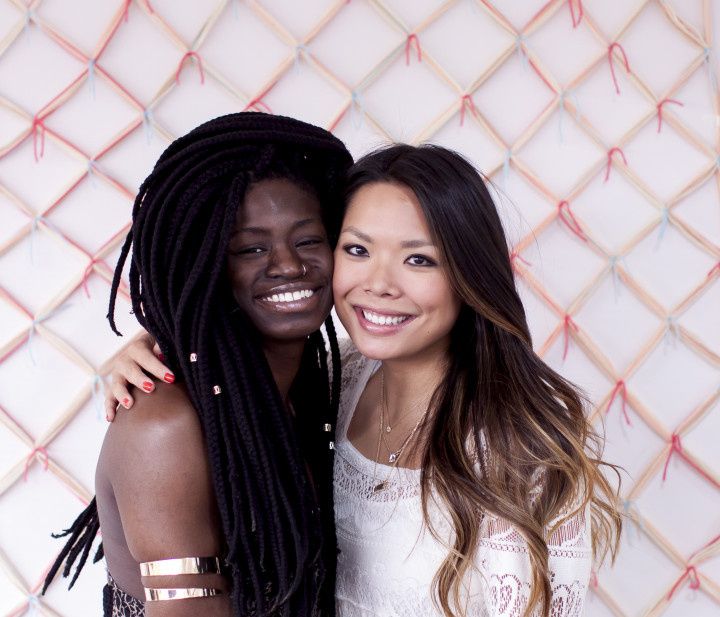

Photo: Crystal Downs
This knotted yarn lattice photo backdrop was designed to mimic the crochet styles of the 70s, so it's perfect for a boho wedding!
Check out how we created it!

Materials
• 5 different color yarn balls
• Scissors
Before you begin, you'll want to cut several dozen 4" pieces of yarn in your two brighter accent colors. You'll also want to create 9' long "bundles" of yarn (we used 8 bundles to fill up our 3' dowel). Each "bundle" should be comprised of 24 or more individual strands of yarn, depending on how thick you want the lattice to be. 85 to 95 percent of the bundle should neutral colors; the rest of the group should be the brighter accent colors.

Before you begin
Tie a knot at the top of each yarn bundle, and leave several inches of excess yarn on the end. You'll use the excess yarn above the knot to the bundle to the dowel.
After setting up your dowel hanger, tie your knotted yarn bundles to the dowel approximately 6" apart. Let them hang loose to the floor.

Step one
Starting on the right side, divide your rightmost bundle in half. Tape outside half straight down the wall, so it runs perpendicular with your dowel. We recommend taping every 8 to 12 inches for a secure hold.
Repeat the same process on the left-most bundle.

Step two
Return to the right side of your project. Take the inside half of the right-most bundle in your right hand. Divide the bundle immediately to it's left in half, and take the right-most side of that bundle in your left hand. Have them meet approximately 3 inches down from the top, so the two stands form the bottom half of a diamond.

Step three
Pick up one of those small, brightly colored pieces of yarn. Use it to tie a double knot at the place where the two half-bundles you're holding meet.

Step four
Take the remaining side of the second bundle in your right hand. Divide the bundle immediately next to it in half. Take the right-most side of that bundle into your left hand. Repeat the tying process in step three so that the knot is even with the first knot you tied.
Repeat this process until you reach the left end of the lattice, then move down a level and repeat the process from left to right. A lattice of diamond shapes should begin to form.

Step five
When you reach the bottom, cut off excess strands. Voilà! Your groovy photo backdrop is ready to go.

Now have some fun posing with your friends!

