


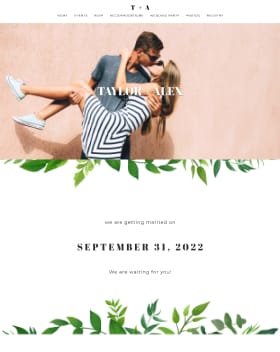
I scanned all the websites out there for save the dates but I could not find magnet templates that fit my garden themed wedding so I figured, why not make my own?!
I had no idea what resin was before stumbling upon it accidentally last month and decided to learn the trade in order to make my Save the Dates.
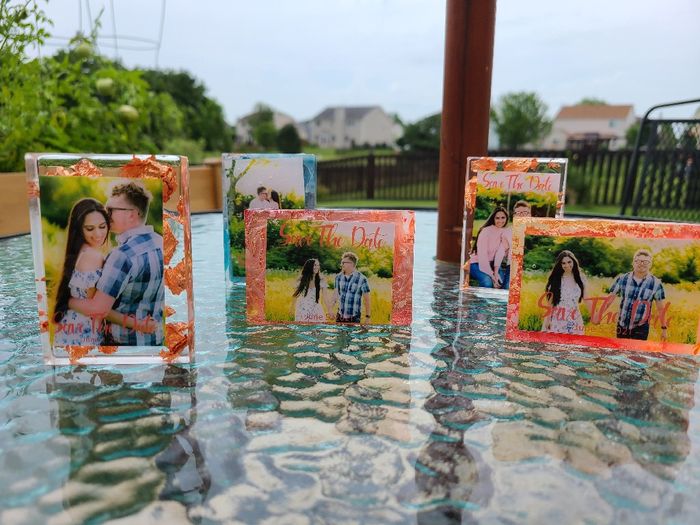
I had so many wonderful shots from my engagement shoot that I picked my favorites, sized them down to the size I wanted, added the words Save the Date and the date of the wedding and put 11 photos on a sheet (I did all of this in Photoshop).
Then I printed them at Walgreens on an 8 × 10 photo and of course used a coupon! I saved money too by having 11 photos on one photo sheet.
Then I laminated the 8x10 photos and cut them down to the size I wanted.

I poured resin into soap molds (I bought about 24 molds so I can resin in bulk), filling up about 1/4 of the mold.
(PS when it comes to resin, silicone is your best friend. Every tool you can, buy it in silicone.)
Putting the photos into the resin and using a heat gun to get out any potential bubbles out (bubbles are the worst).


Then for the gold look, I added gold flakes, or copper flakes,, using tweezers and toothpicks to sink them into the resin. Wait 24 hours then pop them out of the mold!


For colored alcohol inks after pouring the resin I let it sit for 5 hours ( I didn't want to put colored ink into the resin before it cured some because the ink may get under the photo, defeating the purpose) then returned and poured in the alcohol ink using white alcohol ink as well (white ink sinks the colors so they don't sit at the top). Wait 24 hours then pop them out of the molds! This part was fun because my love was able to pour ink and make his own creations and we gave those to his family!

I bought magnets off Amazon and put them on the back so my guests can place the art on their fridge!

Then after all that because I'm extra. I brought transfer paper (Avery Brand). Designed on Adobe Illustrator Save the dates, with the date, the where, the who and more information to follow.
Printed out the design backward on the transfer paper.

Bought fabric (100 % cotton) cut the fabric into strips to make them look like unraveling ribbon.
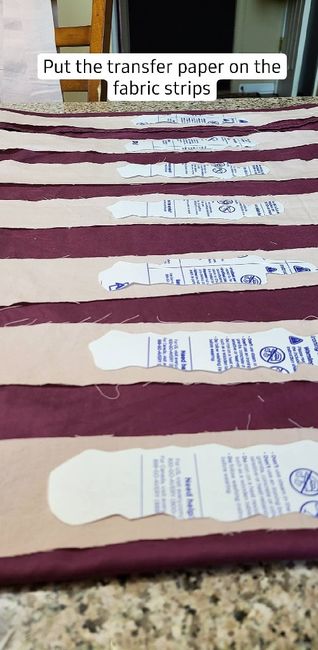

Ironed on the transfer paper onto the strips of fabric then peeled off the paper once it cooled and tied them around the resin and handed them out to my guests.
So far we have received many compliments for our save the dates and what's unique is that each one is handmade which means no two are the same!
The hardest part is learning resin but after extensive research I picked up the craft fairly quickly! Once you are in the groove it's really fun and rewarding!
